This morning I decided to play with correcting and while I set out to shoot many photos of a flowering plant I have, I quickly drifted into shots of the wood floor in my house. The reason was easy, more monochrome results that immediately show the differences between the shots. In other words, I simplified.
The first photo was a shot I took on Auto with Flash to set the control for this experiment. If I JUST wanted to take the shot, this might be what I ended up with.
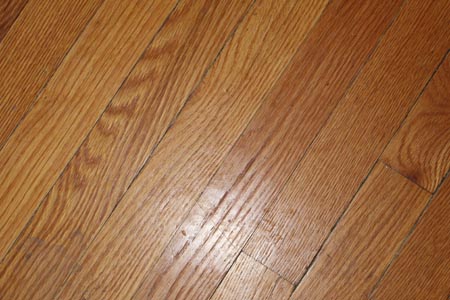
The automatic shot created a warmth to the wood and a nasty reflection. The warmth is nice, but not true and really, a little over the top red. The nasty reflection could have been diffused, but most people don’t carry a diffuser in their pocket and I wanted to have that as the control.
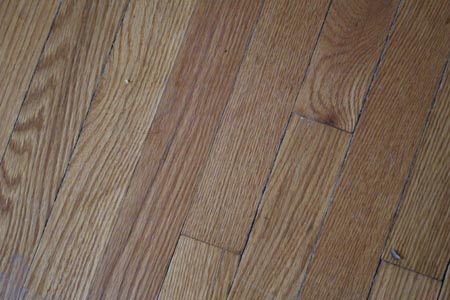
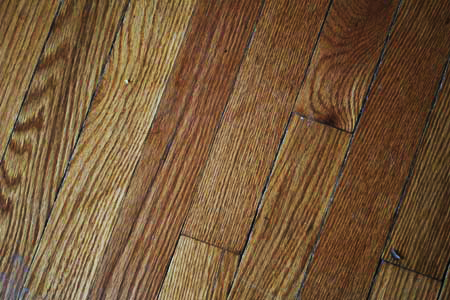
The next shot was the “root” shot for everything else. I shot it at f/5.4, 1/60 ISO 5000 and Auto White Balance. It’s flat, the color is in a limited range (boy is it, I found when I did the Levels image), but the reflection isn’t there and the clarity is good.
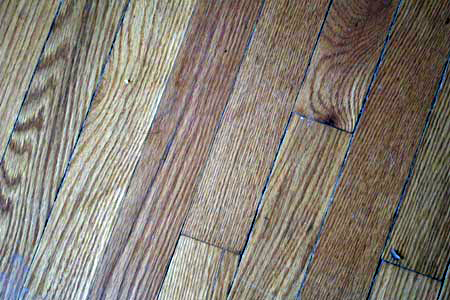
The first test was another Auto base, meaning I opened the image in Photoshop and ran the Auto Color, Auto Tone and then Auto Contrast. How many times have I been lazy and used this? OK, not a pro and it has always been a decision I made depending on the need for more polishing. The vacation photos at Disney really get the Auto treatment and the shots on the trip to the Rockies got much more of my time.

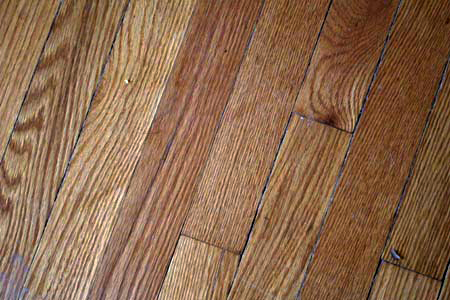
Sadly, the next shot is my Levels correction shot and I found it tough to tell the difference. And not in a good way either. I’ve spent years correcting images and teaching others to use the Levels but I just don’t think it goes far enough. My mantra is “Never assume it will turn out the same way twice.”
My final swipe at this is Levels Corrected with a little more red than I would normally allow for, Contrast Corrected, Gamma Corrected and I think this works for me.
*******************UPDATE*****************
After it was suggested by Daniele that I try it with curves, I did. I’ve worked in Photoshop since 1994 (that’s embarrassing) and sometimes you get used to doing things one way. So in pulling up the Curves tool, pulling out an adjustment layer for it and working on the original flat photo with the final adjusted image next to it, I have to say that it was much more flexible, dare I say, creative, to work in Curves. One tool, all the adjustments. I can learn! 🙂

Hi Louann!
Of course there are many ways in doing this, but I think that a simple Curves Adjustment Layer may have produced all the changes you were looking for.
Once you mastered it in can be as fast as levels, but on a different planet for quality, and flexibility!
Ciao!
OK, I had to follow through, so I am putting up a couple of examples from the curves pov. I’ve always been a Levels person, but I am not against trying other techniques. Thanks!
OHHH! You are unbelievably good! If you click on my name you’ll be redirected at my website, in the /Lab page there is a free video with confrontation you may find interesting. Improving in color correction is a never-ending path, but a rewarding one! Thanks!